
I’ve worried over Brussels sprouts for quite some time. I’ve wanted to like them, but the best attitude I could muster until recently was not hating them. They have a strong flavor that’s bitter while imparting a sewer-gas taste that lodges in your nasal passages causing you to dread the next bite. I was almost to the point of giving up on this nourishing but odd cruciferous veggie until I started noticing on the menus of trendy restaurants the various braised, baked, sautéed, roasted, and blackened versions of the formerly underappreciated sprout from Brussels. This gastro-pub approach, often featuring bacon, cheeses, a variety of herbs, and creamy sauces—along with pictures showing the outer leaves all black and crispy—piqued my interest and revived hope that I could learn to love this vegetable as a satisfying side dish.
So I ordered Brussels Sprouts again and again at different restaurants, and I was disappointed every time. Once past the blackened outer leaves (which were sometimes flavorful but often burnt) the result was always the same: a hard, bitter interior. In my experience these “chef-inspired” dishes all suffered from the misconception that being brown or black on the outside means the sprouts are done on the inside too. The pretentious chefs probably all subscribe to the “we don’t need to cook them to death” school of vegetable preparation. I get that. The typical Southern fare I grew up with featured beans, peas, squash and greens that were cooked in grease until mushy and slimy. Thankfully we’ve moved beyond that, but most vegetables taste better when cooked enough to at least soften up a bit. I formed the opinion that Brussels sprouts would provide better mouthfeel if they were tender, and that some of the bitter sewer-gas taste would be removed if the sprouts were cooked through to the center. So, I renewed my experimentation, searching for a way to retain some of the flavorful browning and caramelization while cooking the center to a mellow and smooth level of softness.
Luckily this process was not laborious as I achieved success after only a couple of tries. The desired result requires very little preparation or skill and only a few basic ingredients. Read on if you’d like to learn how to prepare delicious Brussels sprouts that will have your guests going for seconds and asking for the recipe.
Here’s what you’ll need:
• Brussels sprouts. Try to get the freshest ones you can find by looking for a “best by” date, examining the stem and outer leaves, and feeling for firmness. Also use your sniffer. If they smell gassy in the bag, they’ll more than likely retain some of that quality even after cooking.
• Baking dish suitable for the amount of sprouts you intend to serve when they are cut in half and placed side-by-side in the dish. The size of the dish shown is 2.75 quarts. That many Brussels sprouts will make two big servings, three of ample size, or four dainty ones.
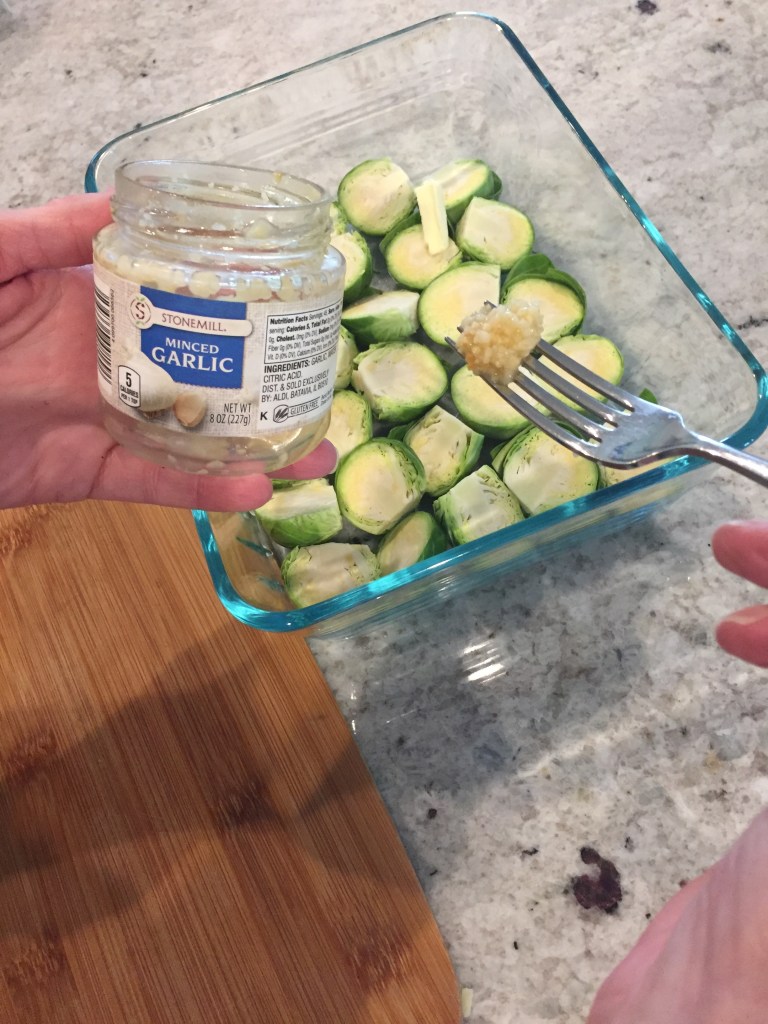
• Garlic. You can use either fresh, the minced, refrigerated variety, or plain garlic powder. For a serving this size I suggest about a teaspoon of the prepared varieties or one to two finely chopped cloves. Salt and pepper are the only other seasonings I use.
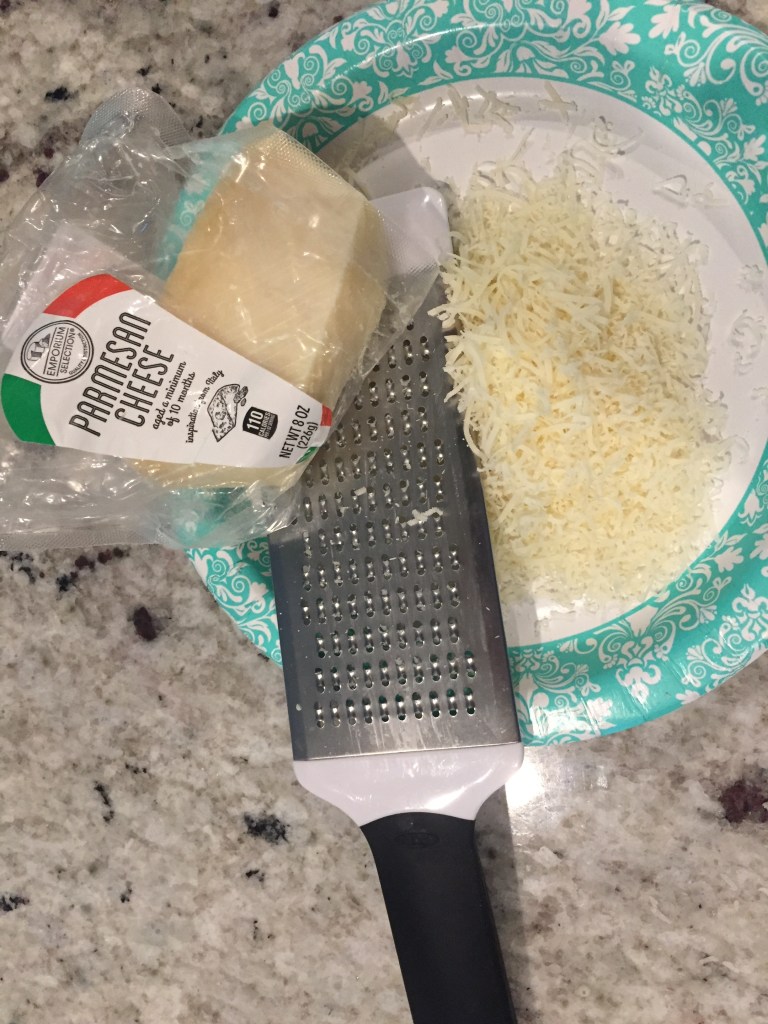
• Parmesan cheese. Grated cheese from a hard chunk will work much better than the kind you shake from a can. The cheese will aid in browning and provide a delightfully crispy and flavorful coating to the finished product.
• Butter
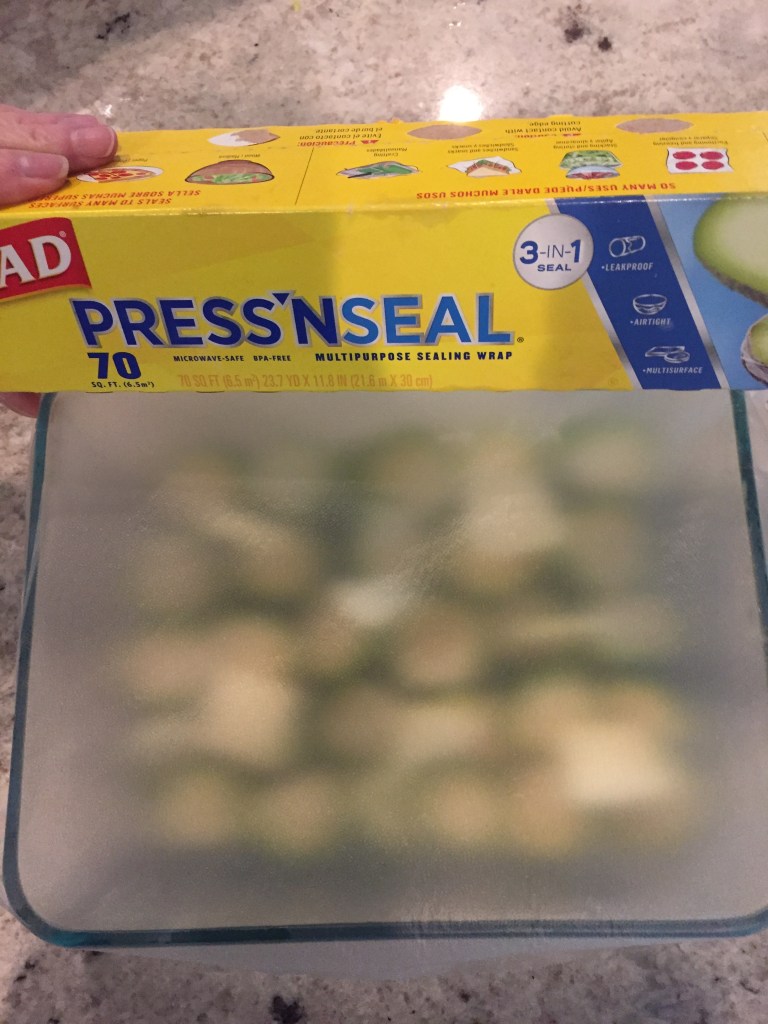
• Press ’N Seal multi-purpose sealing wrap. This stuff is heavier than that aggravating cling wrap, which you should not use for this project.
Here’s how to make the dish:
Go ahead and set your oven to 350 and start it preheating.
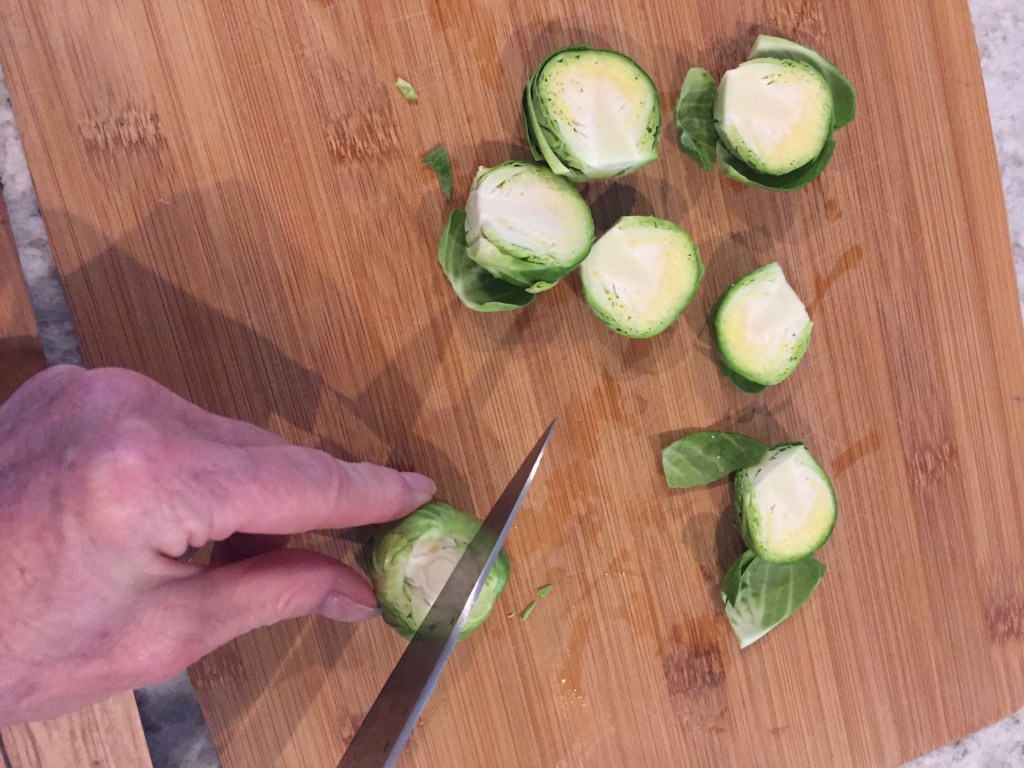
After finding a suitable dish, grab a good slicing knife and a cutting board. After rinsing the sprouts, cut off the stems and slice each one in half, long ways. Place the halves in the baking dish, cut side up.
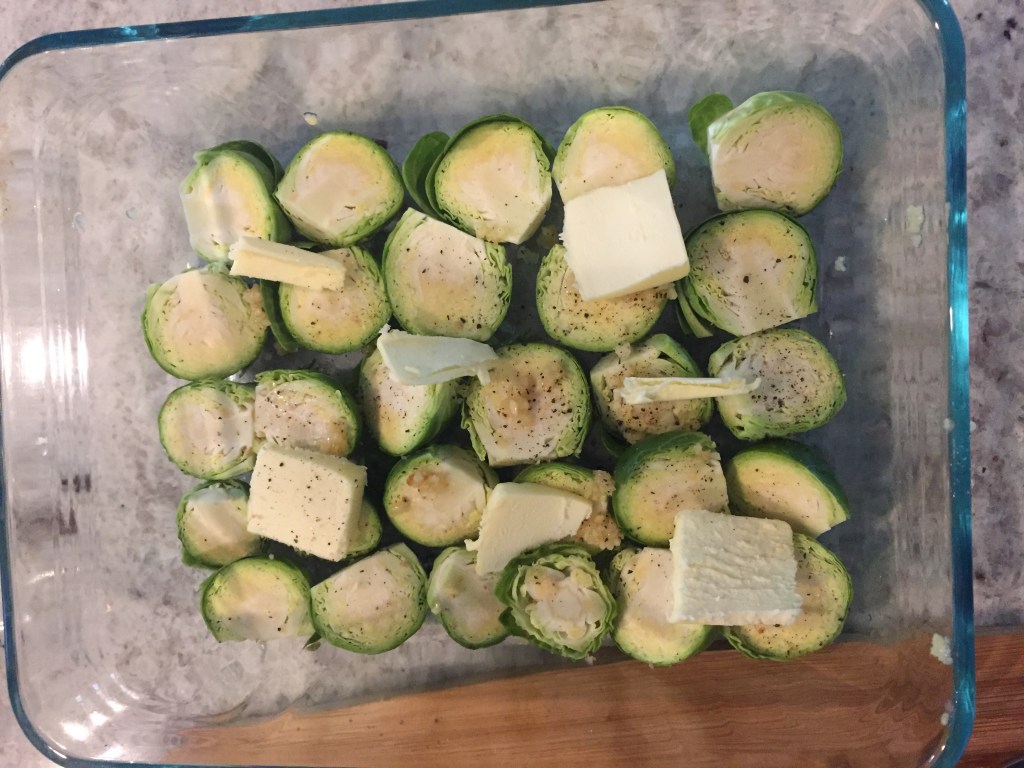
Spread the garlic as evenly as possible over and around the sliced sprouts. Add salt and pepper. Spread some thin pats of butter around in there. You can see in the picture how much we used for this dish. A little more or a little less won’t make much difference.
Sprinkle a little water over and around the sprouts. I simply wet my hand under the faucet and fling water with my fingers into the dish, repeating the process three or four times. I’m guessing this would amount to a couple of tablespoons. You won’t need much.
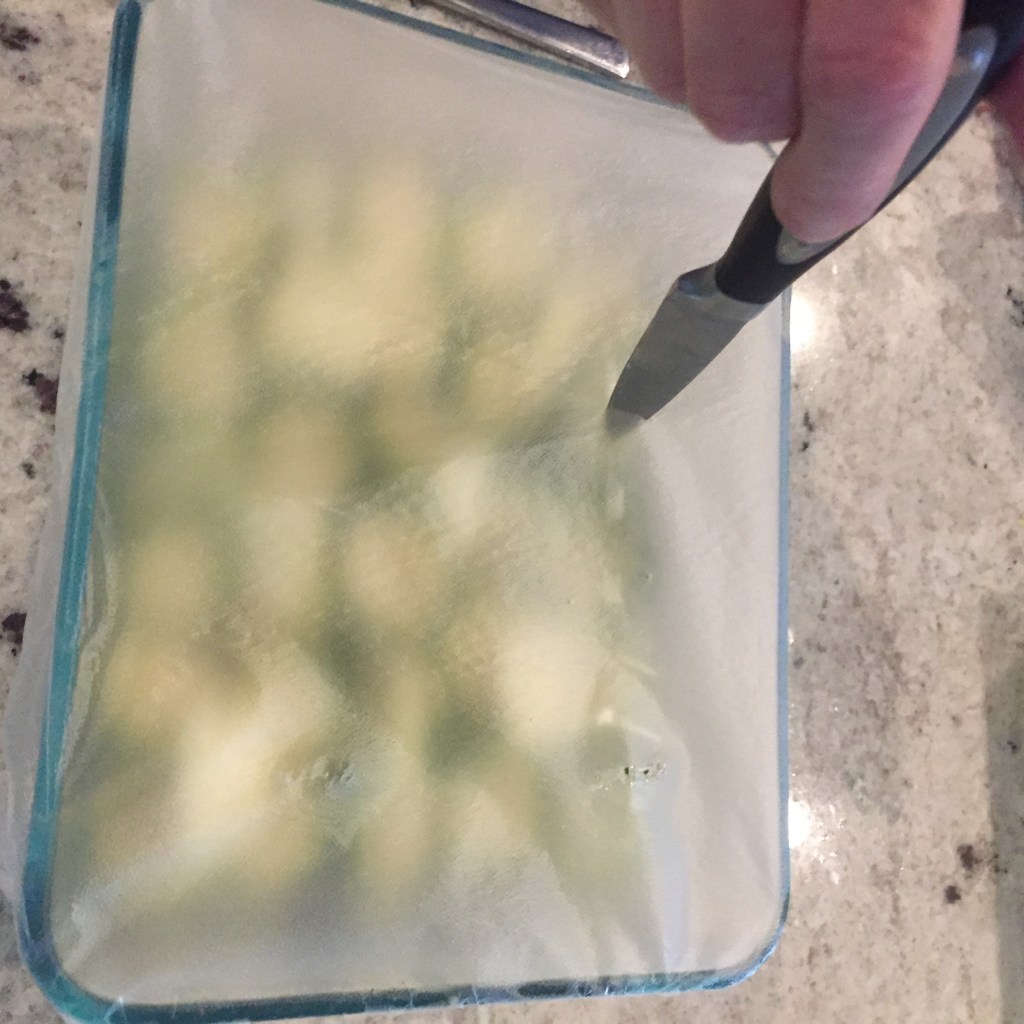
Now it’s time to cover and seal the dish with the sealing wrap. After getting it firmly in place, punch six or eight small holes through the wrap with a sharp knife. Don’t forget to do this!
This next part may seem complicated but it’s really very forgiving, so don’t stress over it. You’re basically going to cook the sprouts in a series of short microwave bursts. This will get the centers hot and release some of the bad flavors as steam. The steam is partially trapped inside the dish, thanks to the Press ’N Seal. Each little timed burst makes more steam, which is then allowed to slowly escape, tenderizing the sprouts while you work on something else. Every minute or so return to the microwave and push the button again. Here’s the suggested sequence: Give it one minute at full power. Let the dish rest for maybe a minute. Hit the “add 30 seconds” button. Let the dish rest for half a minute or so. Hit the one minute button again. Work on something else for a minute or so before hitting the add 30 button again . . . and so on. Try to keep up with how many times you hit the buttons. Three one-minute bursts alternating with three 30 second bursts will be enough. Remember to allow time between so that the steam can do its work. Easy, right?
After that last 30 second zap, allow the sprouts to rest in their steam bath while you grate the parmesan, if you haven’t already done so. Three-fourths cup to a full cup is about right for a dish of this size. After the steam and heat have dissipated a bit, peel off the sealing wrap. Smells good in there, doesn’t it! After bathing your face in the aromas for a few moments, try piercing one of the sprouts with a toothpick to gauge its softness. This info will be valuable later. Next, sprinkle the grated cheese over the fragrant sprouts. You’ll want to pretty much cover the tops (cut sides) of the sprouts with the parmesan. Now place your dish into the hot oven.
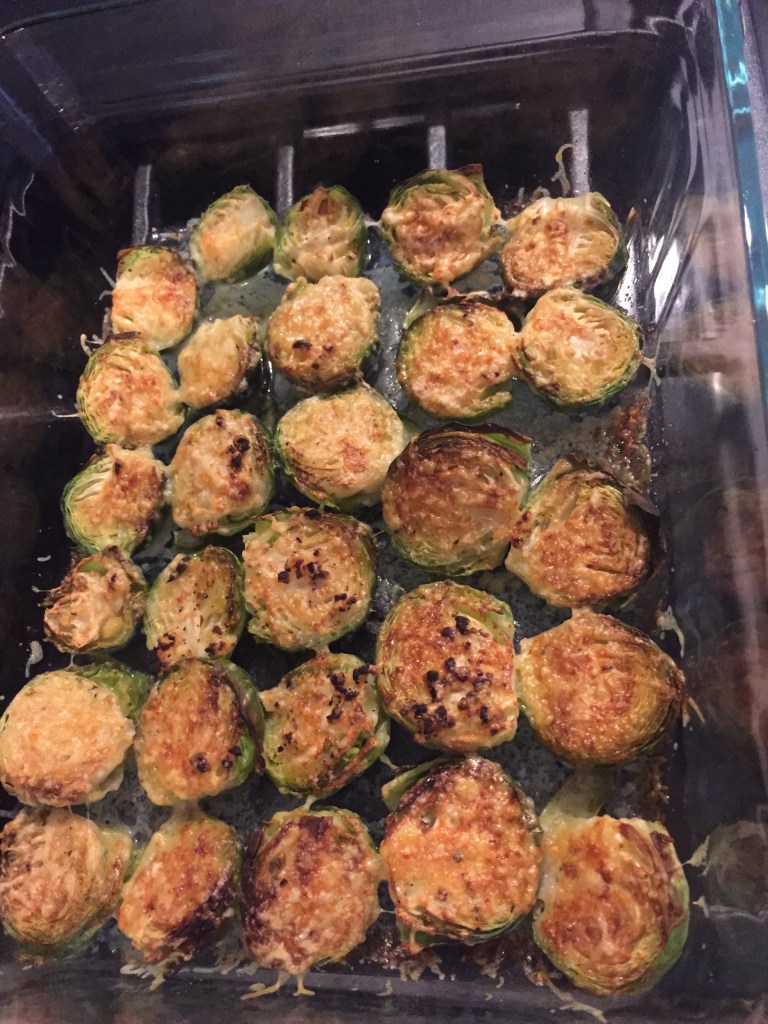
Let them bake for about five minutes (before turning on the broiler) if you’d like them thoroughly cooked, depending on how soft they felt when you stuck the toothpick in. If they came out of the microwave fairly soft, go ahead and start the broiler on the high setting. Once it comes on, you’ll have only a few minutes to piddle around, cleaning up your mess or whatever. Keep your sniffer on high alert for the first signs (or smells) of burning. And look inside frequently. Pull them out when they look like the ones in the picture, golden brown!

That’s it. Plate your meal and enjoy. Your perfect Brussels sprouts will make a fine complementary dish for almost any entrée, be it steak, pork, chicken, tacos, pot pies, pasta, or pizza! Let me know how it turns out.
